Old and deteriorating caulk around your windows can lead to leaks, drafts, and energy inefficiency. If you’re wondering how to remove old caulk from windows and give your home a much-needed upgrade, you’ve come to the right place. In this article, we will walk you through the process of removing old caulk from windows, including the tools you will need and the steps to take for a successful removal.
By following these instructions, you can ensure that your windows are properly prepared for recaulking or any other necessary repairs. Let’s get started!
Why It’s Essential to Remove Old Caulk
Before we dive into the removal process, let’s briefly discuss why it’s essential to remove old caulk from your windows. Over time, caulk can deteriorate due to exposure to the elements, leading to:
- Leaky Windows: Damaged caulk can result in water leaks, allowing moisture to seep into your home, and lead to potential damage.
- Reduced Energy Efficiency: Cracked or missing caulk can compromise the insulation of your windows, causing drafts and increasing your energy bills.
- Aesthetic Concerns: Old, discolored caulk can make your windows look unsightly, affecting your home’s curb appeal.
Tools and Materials You Will Need to Remove Old Caulk
Before you get started, gather the following tools and materials to make the caulk removal process easier:
Tools:
- Utility Knife or Caulk Removal Tool: For cutting and scraping old caulk.
- Caulk Gun: To apply new caulk later.
- Putty Knife: Useful for removing stubborn caulk residue.
- Heat Gun or Hair Dryer: Optional but helpful for softening old caulk.
Materials:
- Caulk Remover or Solvent: To dissolve old caulk.
- Painter’s Tape: For clean lines and protecting surfaces.
- Rubbing Alcohol: Clean the window frame before applying the new caulk.
- Safety Gloves and Goggles: To protect yourself during the process.
Steps to Remove Old Caulk from Windows
Now that you have the necessary tools, follow these steps to remove old caulk from your windows:

1. Prepare the area
Before you start removing the old caulk, make sure to clean the window frame and surrounding area. This will ensure better adhesion for the new caulk.
2. Soften the caulk (optional)
If the caulk is stubborn and difficult to remove, you can use a heat gun or hair dryer to soften it. Be careful not to overheat the area, as it can damage the window frame.
3. Cut and scrape the old caulk
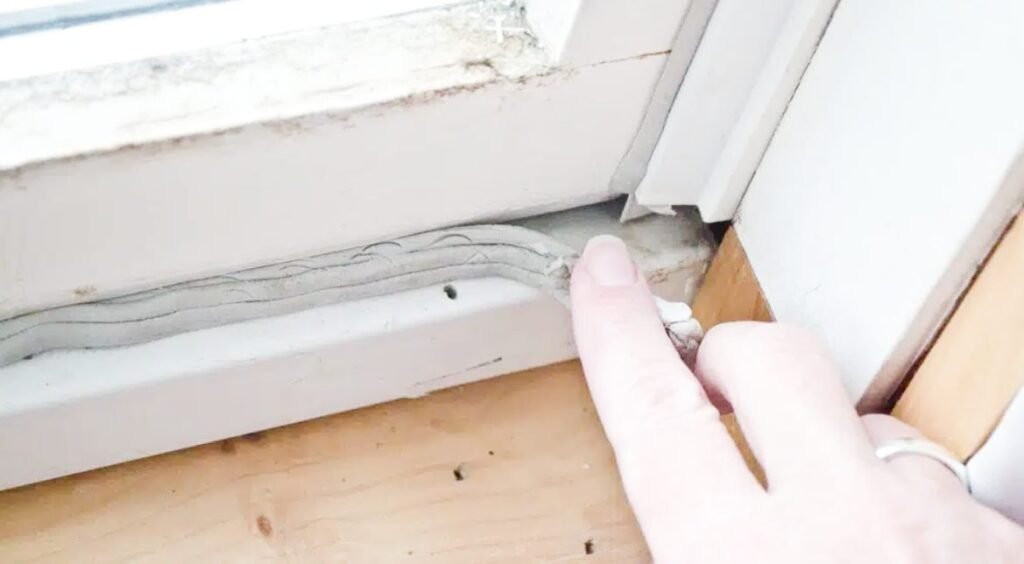
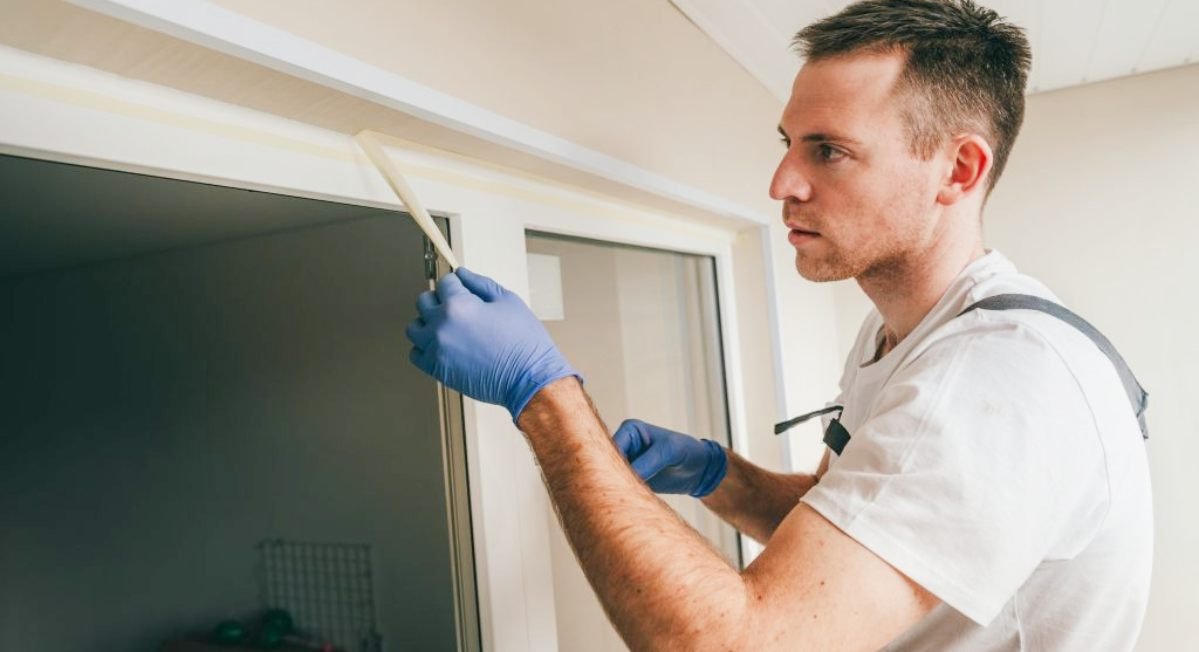
Use a utility knife or caulk removal tool to cut through the old caulk. Start at one end and carefully slide the tool along the caulk line, applying gentle pressure. Scrape away as much of the old caulk as possible.
4. Remove residue
After removing the majority of the old caulk, there may still be some residue left on the window frame. Use a putty knife to scrape away any remaining caulk. Be cautious not to damage the window frame.
5. Apply caulk remover or solvent
If there are stubborn caulk remnants that cannot be easily removed, apply a caulk remover or solvent according to the manufacturer’s instructions. This will help dissolve the caulk and make it easier to remove.
6. Clean the window frame
Once all the old caulk has been removed, clean the window frame thoroughly with rubbing alcohol. This will remove any residue and ensure a clean surface for the new caulk.
7. Apply new caulk
After the window frame is clean and dry, use a caulk gun to apply a new bead of caulk along the gap. Use smooth, steady pressure to ensure an even and consistent application. You can use painter’s tape to create clean lines and protect surrounding surfaces.
8. Smooth the caulk
Use a damp finger or a caulk smoothing tool to smooth out the newly applied caulk. This will create a neat and professional finish.
9. Allow caulk to dry
Follow the caulk manufacturer’s instructions for drying time. It is important to let the caulk fully dry before exposing it to moisture or extreme temperatures.
By following these steps and using the necessary tools and materials, you can successfully remove old caulk from your windows and prepare them for the application of new caulk.
Common Mistakes to Avoid While Taking Off Caulking
When removing old caulk from windows, there are some common mistakes that you should avoid to ensure a successful and clean removal process.

1. Over-reliance on caulk removers
When removing old caulk from windows, many people make the mistake of relying too heavily on caulk removers. While these products can be helpful in softening the caulk, they should not be solely relied upon. It is important to also use manual tools such as a caulk scraper or putty knife to physically remove the old caulk.
2. Rushing the process:
Another common mistake is rushing the caulk removal process. It is important to take your time and be patient when removing old caulk. Rushing can lead to uneven removal or damage to the window surface. Take the time to thoroughly remove all traces of old caulk before applying new caulk.
3. Neglecting surface preparation
Before applying new caulk, it is essential to properly prepare the window surface. This includes cleaning the area thoroughly and ensuring it is dry before applying new caulk. Neglecting this step can result in poor adhesion of the new caulk and a less effective seal.
4. Not using the right tools
Using the proper tools for caulk removal is crucial. A caulk scraper or putty knife should be used to carefully and effectively remove the old caulk. Using the wrong tools can lead to damage to the window or an incomplete removal of the old caulk.
Read Also: How to Block Sunlight Heat from Windows?
Conclusion
Removing old caulk from windows is an important step in maintaining the integrity and efficiency of your windows. By following the steps outlined in this article and using the necessary tools, you can successfully remove old caulk and prepare your windows for recaulking or any other necessary repairs. Don’t neglect this crucial maintenance task and enjoy the benefits of well-sealed and energy-efficient windows in your home.
FAQs
After removing the old caulk, use a clean cloth or sponge dampened with warm soapy water to wipe away any residual caulk or debris from the window surface. Rinse with clean water and dry the window thoroughly.
You should inspect your caulk annually and replace it as needed. Generally, caulk can last anywhere from 5 to 10 years, but it may deteriorate faster in harsh weather conditions.
Yes, you can paint over the new caulk once it has fully cured. Be sure to use a paint that is compatible with the type of caulk you’ve used.
